
3D Printing can be a complicated process if you don’t know what you’re doing, but once you figure it out, it can be a blast.
Have you ever wondered how the 3D printing process works? You know people are excited about it. You hear about some of the cool things 3D printers can print. But how does the idea gets from your head to your 3D printer’s print bed? If you can’t visualize the process how can you really believe in it? Don’t worry, I have a gift for you. In the rest of the article, we are going to follow an idea from start to finish. By the end of this article you will know how a concept goes from dream to reality, and hopefully, you will be using this knowledge soon as you join an ever growing community of makers.
Come up with a Concept
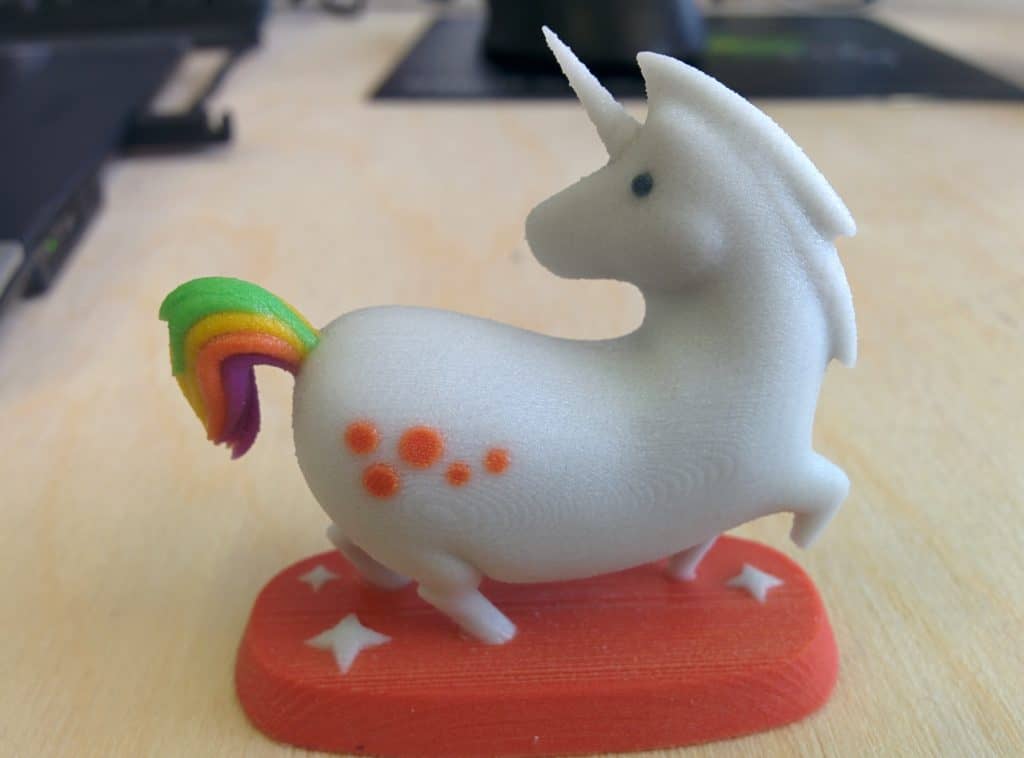
You wake up from a deep slumber and all you can think about is a Unicorn eating a taco (wierdo). You can’t stop thinking about it, and you know you need to make it a reality. Two dimensions just won’t do. This will be a masterpiece, a sculpture fit for the nerdiest of coffee tables. You need to print this on a 3D printer.

Step 1 – Does it already exist?
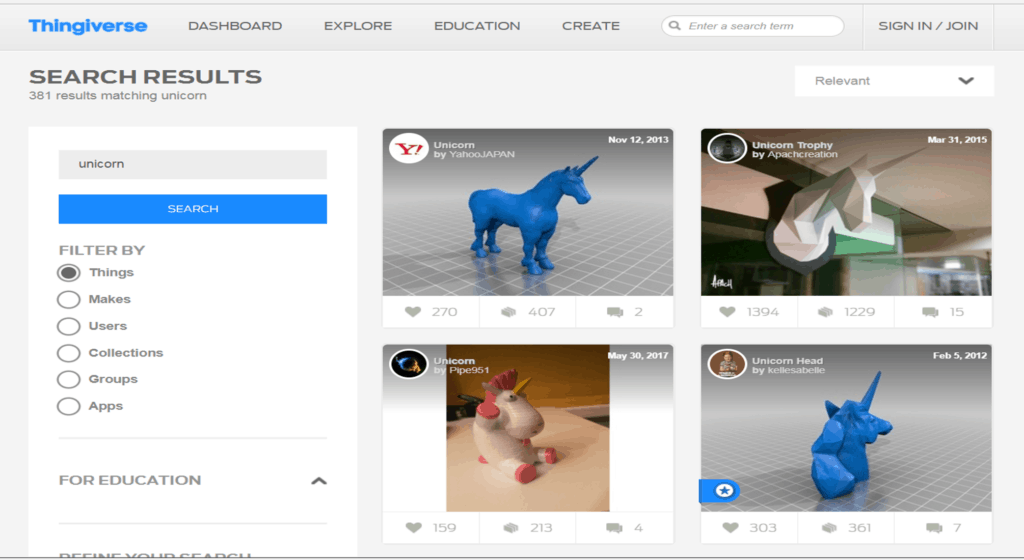
The first step you take is to log onto your computer. You know there are databases like Thingiverse where makers around the world have posted their crazy, functional, and silly designs for the world to emulate. You’ve browsed through their selection before, and you know you can find almost anything on one of these sites.
Unfortunately, through all of your searching, you did not find the perfect Unicorn eating a taco that would truly bring your dream to life.
Step 2 – Break out that modeling software.
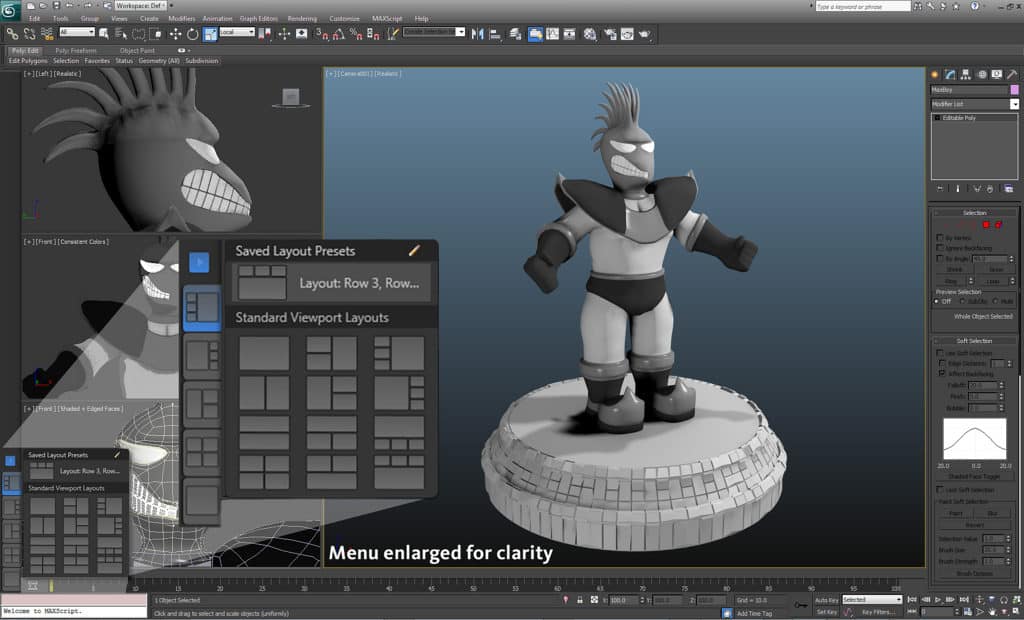
It’s time to create the design of your dreams. What program will really bring your Unicorn to life? Should you go with a CAD program, a freeform modeling program, or maybe even a sculpting program. In this case, you’ll likely land on a free form or sculpting program. CAD is best for functional designs. While your taco munching Unicorn will be amazing it is unlikely it will be performing any function other than amazing your guests.
Pour your brain into that program, and let’s see what comes out.
Step 3 – Slice it up.
The model is great. I mean perfect. Who knew you were that good with modeling software. Hint, I did because I’m writing the article. You did so well you sat staring at your computer screen for an hour just marveling at what you’ve done. Come on lazy, it’s time to get to work.
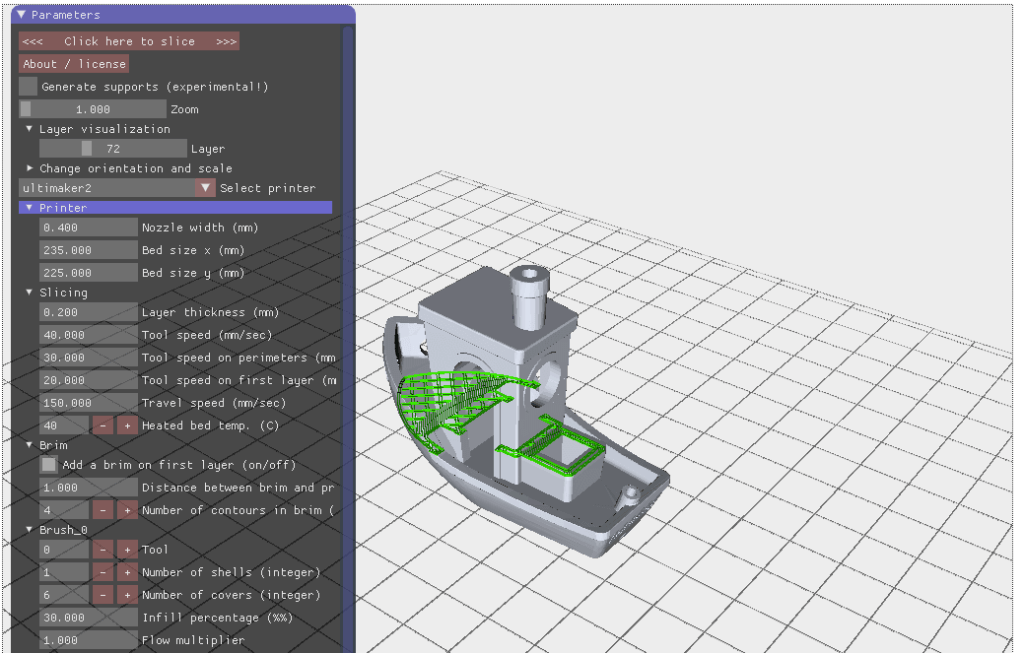
The next step is to load your model into a slicer. A slicer is a piece of software that slices your model into layers your 3D Printer will understand and can print. Your slicer will help you modify your file and prepare it to print in just the right way.
At this point you need to be considering things like the resolution you want. Higher resolution means a smoother finish, but a longer print time. Also, how much infill is needed to make the structure stable? Infill is the inner structure the outside world doesn’t see that supports your structure. What pattern should you print the infill?
Step 4 – Get that file to your 3D Printer
Now that you’ve sliced up your model you need to get the file to your printer. There are a few ways you can do that. Some 3D Printers offer a wireless setup, others have a custom Raspberry Pi setup. Commonly a computer will be attached to the 3D printer, or an SD card can be used to place the file on the printer.
In your setup, you are just using an SD card. As a casual hobbyist, it fits your needs well enough for now, but you have an eye on that Raspberry Pi setup. Walk your butt over and put that SD card in your printer.

Step 5 – We Print!
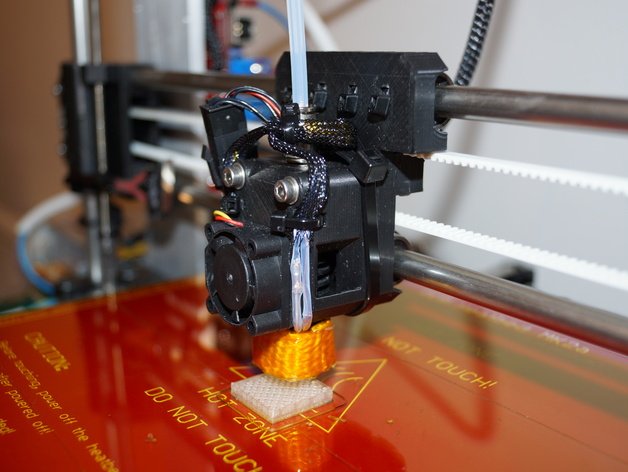
It’s time. The printer begins its work. I hope you loaded your best filament for this. We only want the best for the magnificent taco devouring beast we are printing. If you were printing a prototype for a project you might not need your most expensive stuff, but for this art piece, let’s do it right. Layer by layer your 3D printer adds melted filament, and slowly but surely the creation is put together.
Step 6 –
Look at what you’ve done. You deserve your moment Dr. Frankenstein. Your 3D model is absolutely magnificent. Is it done yet?
Nay good sir, it is not. It’s time to paint.
Step 7 – Get Out your Craft Supplies
The finishing process for a 3D print can be as complicated, or as easy as you like. You have to make sure to trim off any excess, smooth it out, and paint it how you like. I’ve put together an article on How to Paint PLA and ABS 3D Prints you can check out to get a real in-depth look at this process.
Step 8 – It’s Alive!!!!
Go ahead. Yell it. Then promptly place this masterpiece as the centerpiece in your party room and invite everyone over. Prepare to bask in their adulation.
Easy right?
That’s the basics of how things happen. You can really get into the nitty gritty when you start truly getting into resolutions, infills, and other technical details. I will caution you right now not to rush the concept portion of your project. Having a clear vision will solve most of the problems that may pop up along the way.
At this level, it’s pretty easy, right? Yes, with the basic knowledge you should be able to get started, and learn along the way. It’s a really fun process, and I envy all first timers the joy of learning along the way.
Did you enjoy the trip?
I do have one favor to ask before you leave though. Please, take the time to share this article with any friends you think will get something from it. Help me spread the word and bring more new comers into the fold. A maker world is a happy world.