3D Printing is awesome. You can create some amazing things, but unless you do something to it a 3D print can look kind of bland.
Once you’ve poured all the time and effort into making an awesome 3D object it seems like a waste to leave it plain and unfinished. It’s a well-known fact 3D printing hobbyists such as you and me are perfectionists. We are only happy when our creations meet our high standards. The answer to our need for realism and perfection for our 3D prints is painting. What do you need to know to start painting your PLA and ABS 3D prints? Let me show you with this how-to guide.
Can’t We Just Use Multiple Filament Colors?
For people who desperately don’t want to paint 3D Printer developers such as MakerBot, Da Vinci etc. tried to help us out by developing dual extruding 3D printers. These awesome beasts gave creators the ability to make use of multi-colored PLA or ABS filaments to print out multi-colored objects. Despite the very high-level of resolutions these dual extruders produce, a lot of printing enthusiasts still feel they fall a bit short in achieving the standard of realism they want from their 3D printed objects.
Unfortunately, for now, this leaves most of us makers to seek the tried and tested method of painting to add that touch of realism to objects.
[adinserter block=”1″]
Start the Right Way
First, 3D printing projects are technical endeavors which you must plan strategically from conception to creation. Your 3D printer can only do what you ask of it, and the amount of work required postprint is directly related to the amount of work put in pre-print.
Therefore, it is imperative that you design or choose a 3D model with the fact that you intend to paint it in mind. This means you must consider the surface relief and surface details of your model to ensure a 3D print with surfaces that encourage painting. We want to minimize the amount of sanding needed to achieve more details.
For most 3D printing enthusiasts, printing an almost perfect object can be a daunting task. To attain perfection, you must have reached the level of technical knowledge where you understand every aspect needed to develop perfect digital 3D models as well as to thoroughly grasp how your 3D printer functions. Our desktop printers are great, but still, have some significant limitations, and it is unlikely we will print an object that needs absolutely no finishing.
Therefore, for most of who are yet to hit that high standard of precision, the first stage of painting a print is cleaning up the 3D printed object.
Step 1: The Cleaning Up Process
For prints that required support—overhangs, fulcrums etc.—as well as prints with the occasional stubble and bumps caused by filament over bleed, you will perform some form of trimming before painting. Therefore, your first task will be carrying out this cleanup exercise using the following tools:
- Tweezers
- Pliers
- Sandpaper and
- A craft knife.
Finishing a 3D print is a separate process, which I’ve already covered it in this article. You must complete finishing before painting for best results.
Here, your major task is to remove the over bleeds and misplaced protrusions from your print. Whatever combination of tools you use you want to make sure your print is clean before we move on.
Lastly, it is important to state that you should clean up your model before applying a priming agent or paint and not the other way around as some might suggest.
Step 2: Priming Your Model for Perfection
At what resolution does your 3D printer print? Does its maximum printing resolution provide you with the finished or smooth surface needed for painting? Most likely your answer is no and this second stage is definitely one you cannot skip.
Priming your model involves filling holes and smoothing the different layers that form the surface of your 3D model.
So moving to the tools needed to carry out the priming process, we have:
- A primer spray or
- Liquid Gesso
- A flat-tip paint brush
- Sandpaper
Once you have these in hand, you can start perfecting your print by following these basic application steps.
[adinserter block=”1″]
Apply Gesso in layers, and for the first layer; I recommended that you mix your liquid Gesso with a little water.
- Apply the first layer by painting in one chosen direction ensuring uniformity.
- Next, rinse your brush while allowing the first layer to dry according to the time specified on its user instructions.
- Sand the print with to eliminate the appearance of an elevated layer and to improve appearance
- One layer of gesso is rarely enough to achieve the perfect surface therefore on your second application, paint in the other direction as this fills up holes you may have missed at first.
- Sand the print once again and start over from 1 till 5 in order to achieve a perfectly primed surface.
Once you are through with these steps and have gotten your 3D print to look as polished as you would like, you can then move over to the painting stage.
Step 3: Painting Your Print
Now, it’s time to have some fun! Before kick-starting the painting phase. We’ll discuss two techniques which can be employed in painting your 3D print; the hand brushing or airbrushing technique.
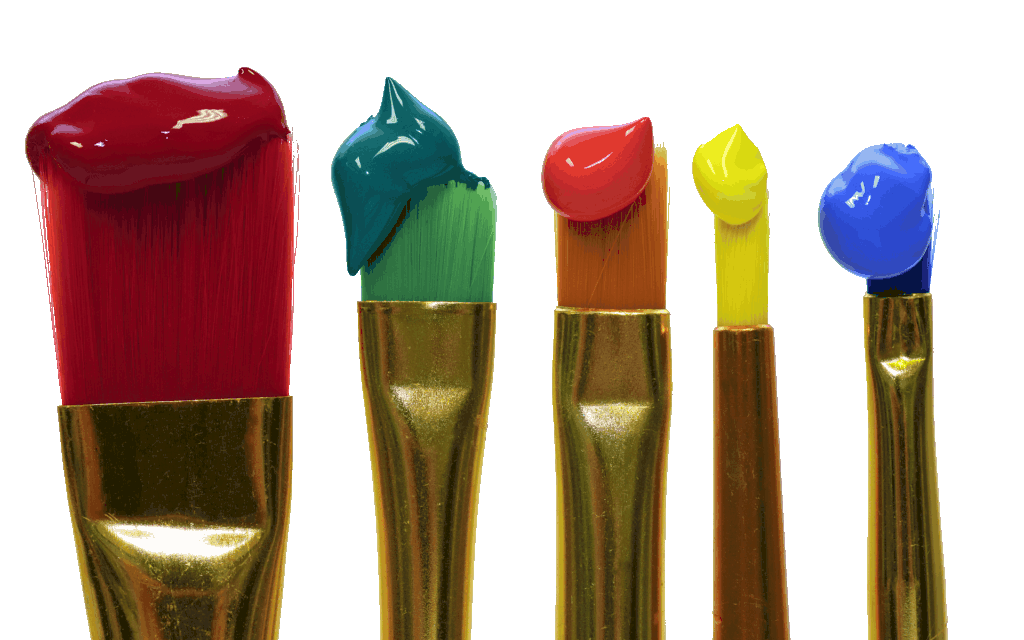
Using a hand Brush
To accomplish the task of painting with a hand brush, these are the items or tools you will need.
- A wet palette or empty container for mixing/keeping paint brushes
- Acrylic paint of your required colors
- Varnish spray or finish
- A craft brushing set
Once you have the required equipment, the next step is to follow these four rules covering the use of acrylic paint in painting 3D printed PLA and ABS prints. The rules are as follows:
- It is better to have a lot of your paint mixtures stored and readily available than to mix up new batches. This is due to the fact that getting the exact same tone when mixing new batches is close to impossible.
- Acrylic paints are thick and dry out fast. Thin it out with water for storing left-over mixtures; you should use an air-tight palette or cover containers with cellophane.
- Wet brushes act like your erasers. Use them to clean up or erase errors, but make sure to apply them quickly for best results.
- Acrylic paints dry quickly and allow you paint over a differently colored layer with perfect results. Therefore, if you do not like the tone of your original paint, simply apply a new tone over it. Provided you don’t water it down the previous layer shouldn’t affect the coloring of the new layer.
Now that the commandments are out of the way, the next step is applying your paint. And just like the process of priming with gesso, painting is done carefully according to the coloring pattern you have chosen. Lastly, to protect your paint from UV damage, it is also important that you use a matte varnish on your painting to protect it as well as give it a glossy look.
[adinserter block=”1″]
Painting 3D PLA and ABS Prints with an Airbrush
Using an airbrush is quite different from painting with a hand brush, but the results can be amazing. The learning curve is a bit greater, but it’s well worth it. You can click here, to read more about some of our favorite airbrushes found on Amazon. The tools you will need to work with include the following:
- An airbrush – here we will use a double-action airbrush because it gives you greater control over the volume of paint you spray and its air pressure which significantly impacts detail work.
- A small bucket
- Airbrush palette
- Acrylic paint
- Scrap paper/frisket or copy paper
- Varnish spray or other fixatives
Once you have all this in place, then you are half way to completing your mission! Now it is time to learn how to use make the most efficient use of your airbrush.
So here are some tips:
- When painting with airbrushes start with lighter colors before moving to darker ones.
- Always wash out the previous paint mixture using water before refilling with another color
- Wrap unpainted surfaces with scrap paper before painting the focus area or surface
- Keep your brush about an inch from your print.
OK, with the tips out of the way lets get to the steps required in painting with the Airbrush:
- Start by wrapping open surfaces of your 3D print—which you do not want stained—with a frisket or scrap paper.
- Fill in your airbrush with the required paint mixture
- Choose a low air pressure and test spraying patterns on scrap paper to perfect your spray pressure and pattern.
- Apply your airbrush on the area or surface without the frisket.
- Repeat till you have completely painted the entire 3D print.
- Lastly, apply the varnish spray or fixative to seal your paint in and you are done!
Conclusion
If you followed the tips above you should now have a painted a 3D printed PLA or ABS print. Provided you’ve put in a little bit of time and practice I suspect your results are quite good. Great job!